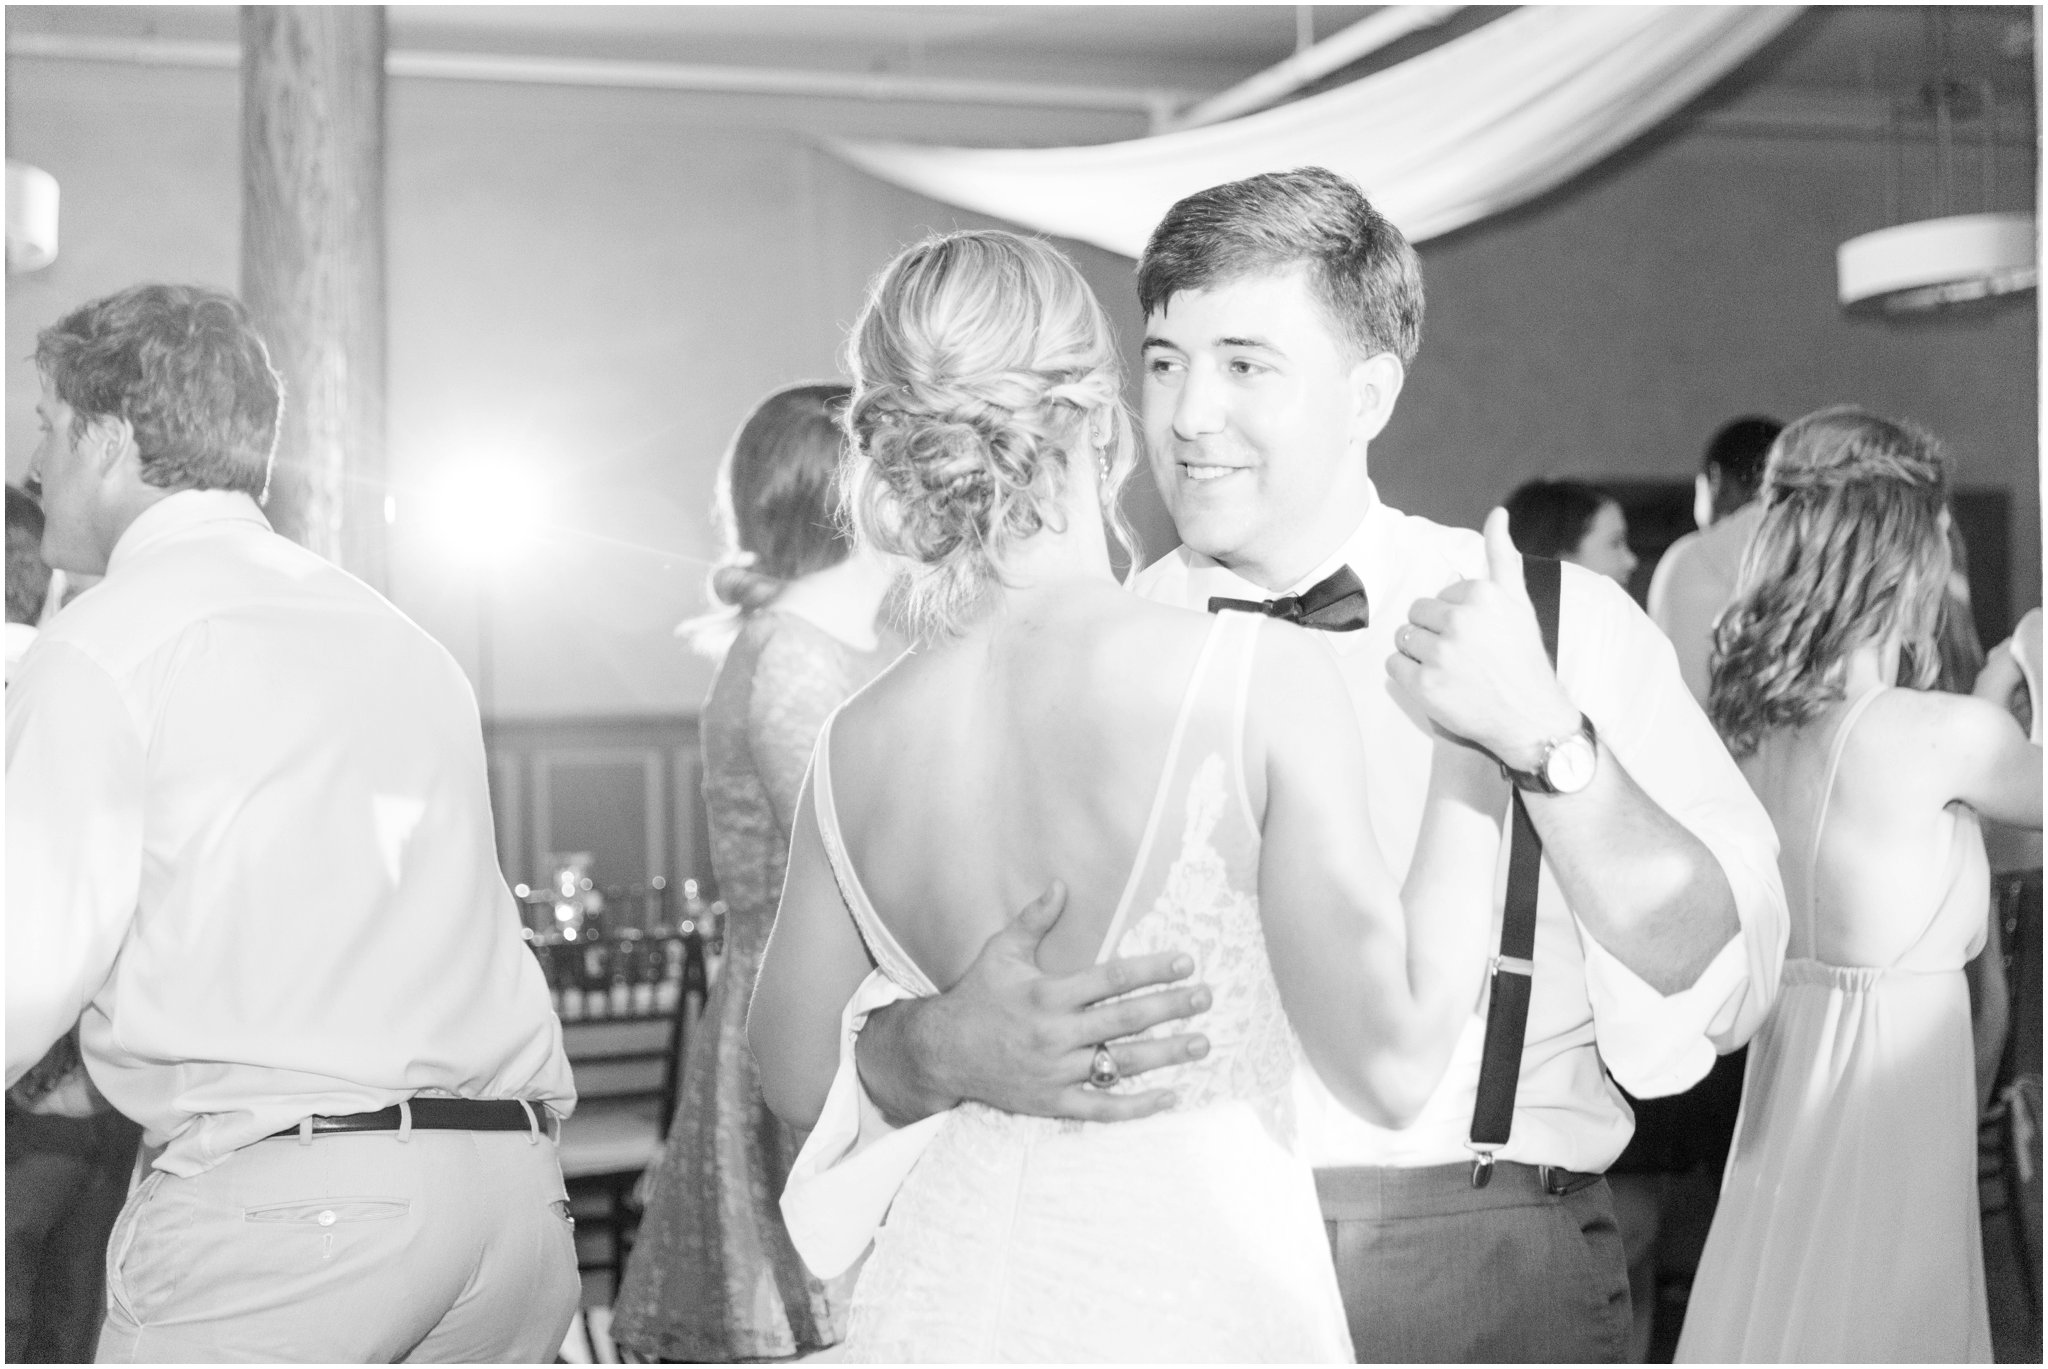
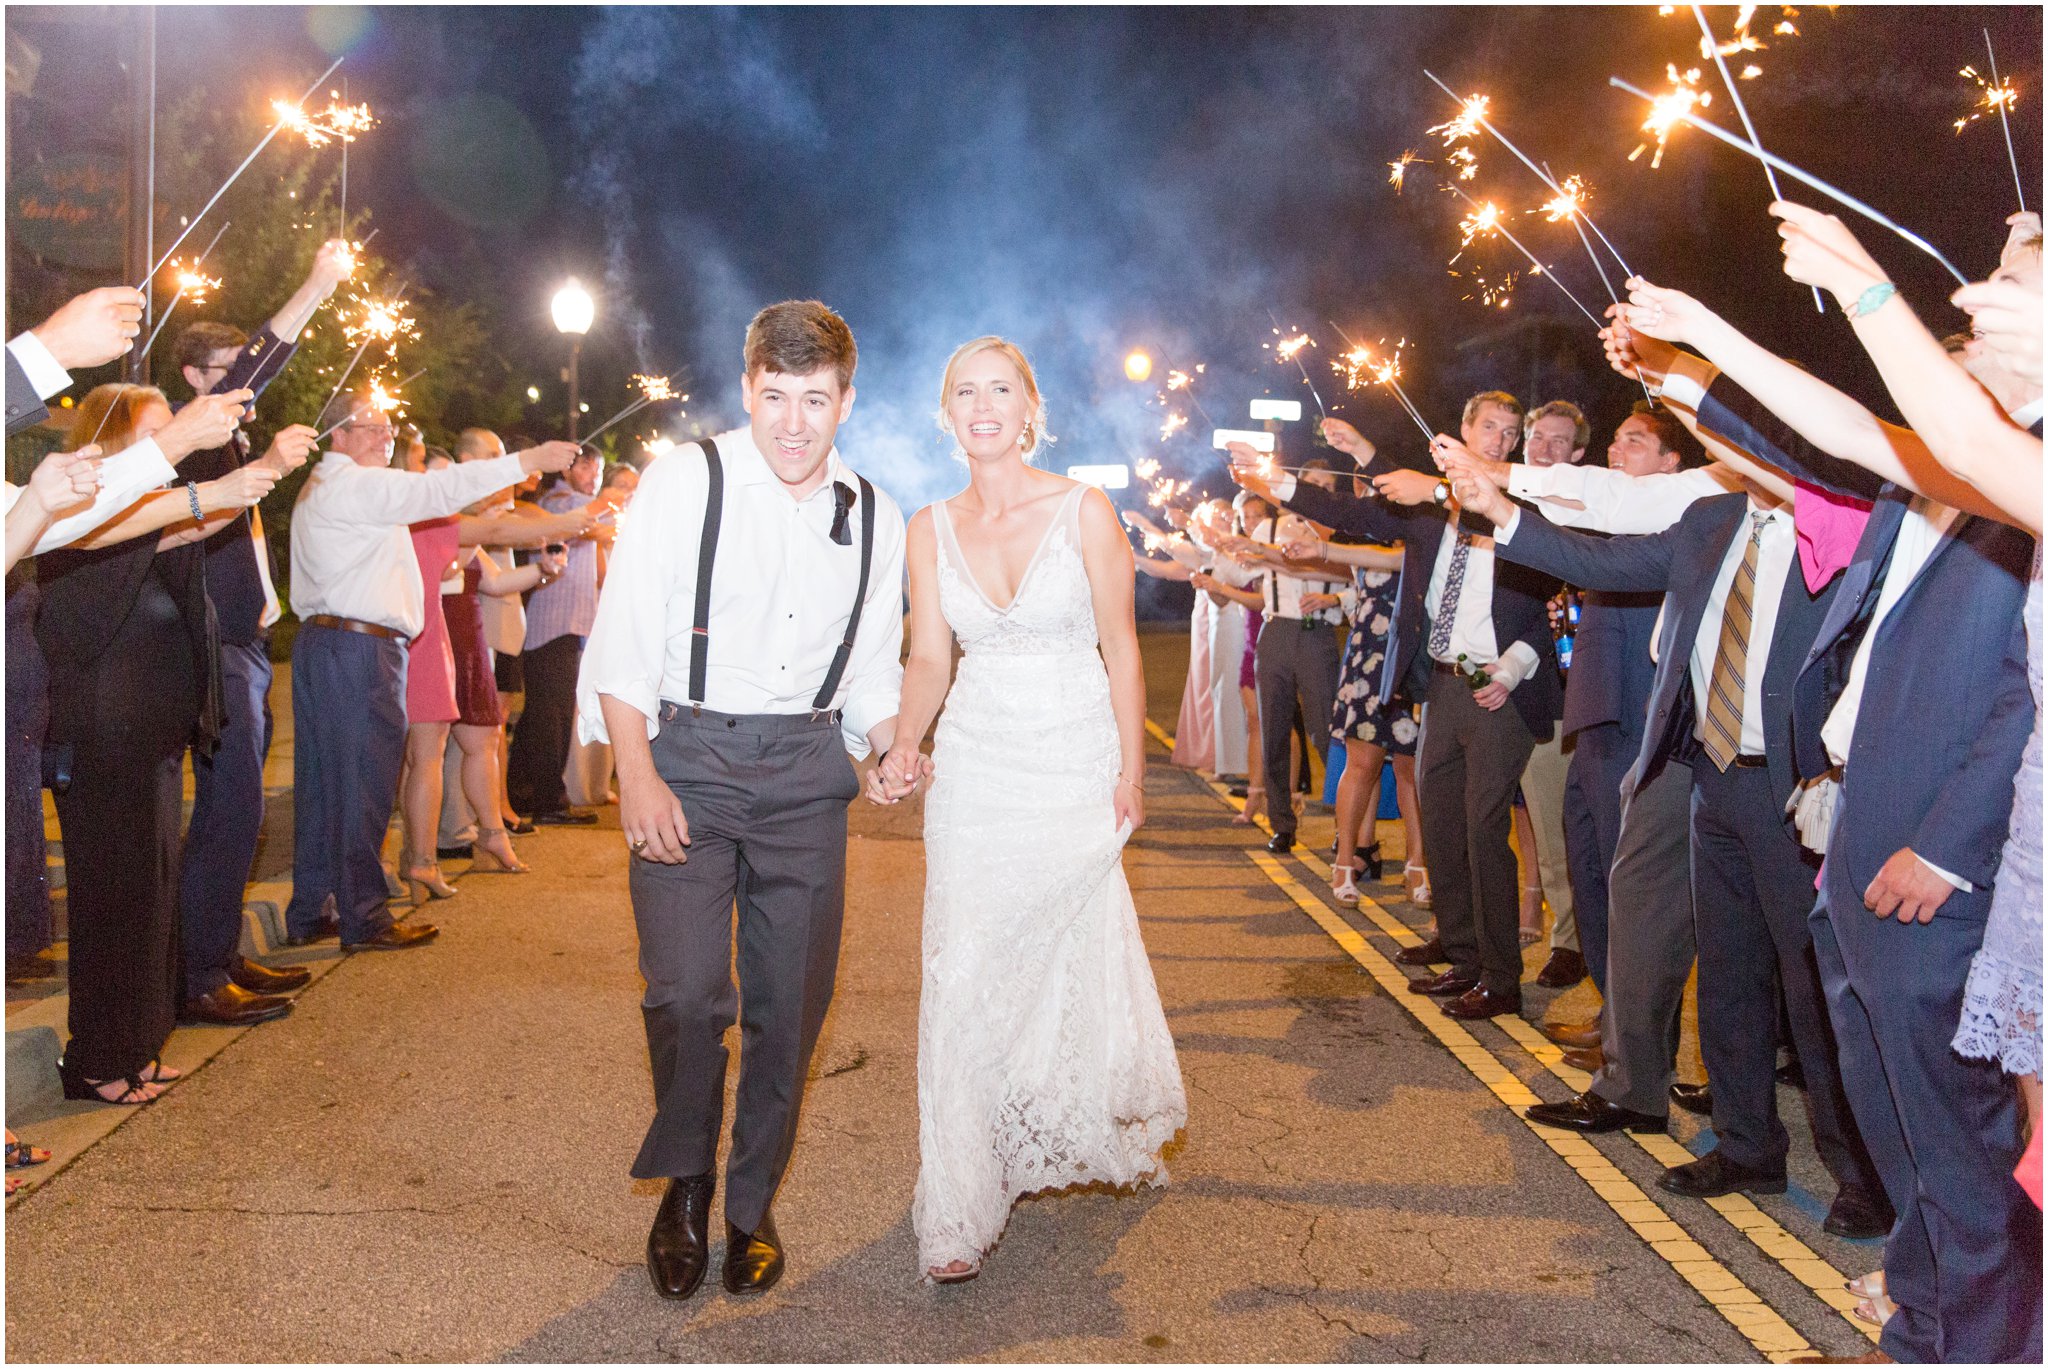
 I remember being SO afraid of off-camera flash! I felt like I couldn’t master it, but knew it would step up my images. When I finally did learn it, I was able to take my images to the next level! Dark reception spaces weren’t scary, and I was able to get airy images no matter how dark the dance floor was!
I’m sharing 5 simple tips for using off-camera flash!
Use flashes that are radio transmitted, or use a transceiver.
Flashes can talk to each other either by sending signals to each other via radio, or by optical which would be seeing the light from the flash on the main camera and firing. The problem with optical is it wasn’t consistent. If I was all the way across a room, it often wouldn’t fire, but might fire when someone nearby fires a flash with their camera! I wanted something I KNEW would work and fire every time!
I used Nikon for years, and always used a transceiver for my flashes! These sat under the flash and communicated with each other. When I switched to Canon, I only bought flashes that were radio transmitted to get rid of the extra step of setting up transceivers under the flashes! But by setting things up to communicate via radio, no matter where I was, even if I was in a different room, my off-camera flash would fire.
Have the off-camera flash stronger than the flash on-camera.
This will create bursts of light and light up the background even more! It allows for beautiful shots that are creative and look high end! The flash on my camera still gives off enough light to make my subject lighter and fill in the shadows.
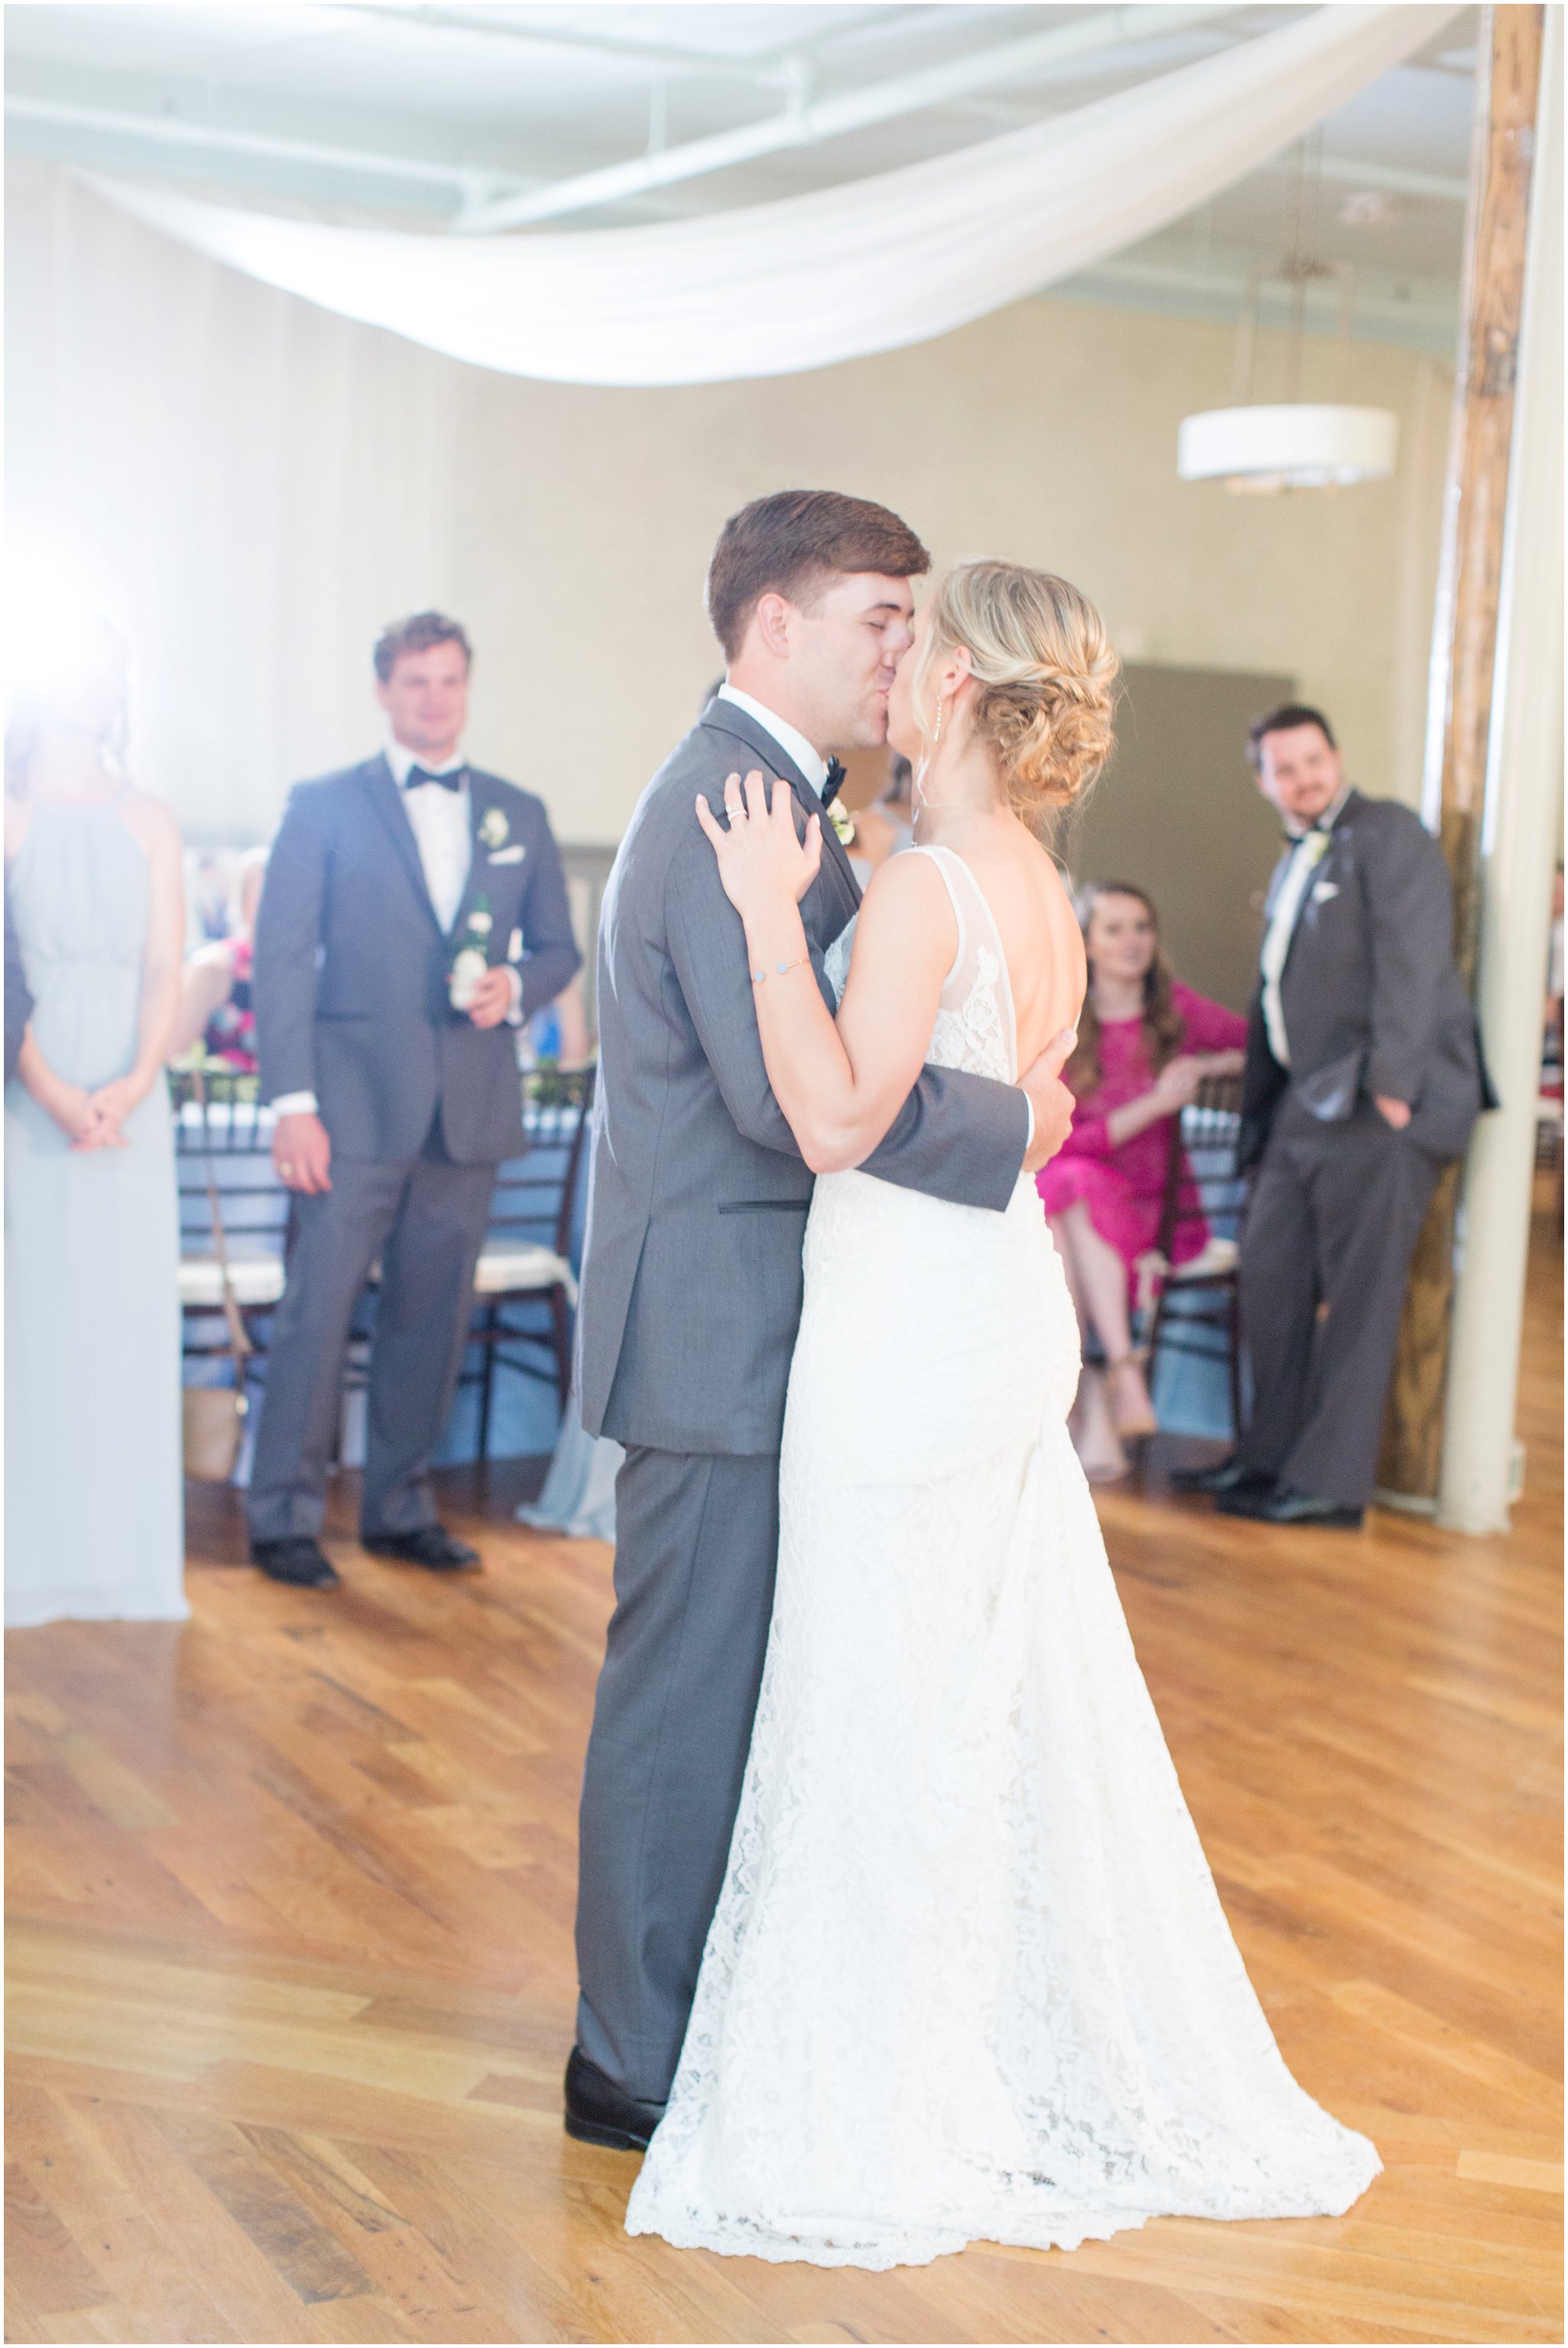
 Set the off-camera flash up across from where you’ll be most of the time.
When I’m preparing to shoot the first dance, I do my best to stand with my off-camera flash across from me! I’m strategic about this since I want to avoid certain things in the back of the first-dance shots! I try to set it up by an object or pillar where people are less likely to knock it over, and try to avoid getting the DJ set up in the back of all of the shots! If it’s an option, my favorite set up is to position myself with my back to the DJ table (so it’s not in the shots), then either have one off-camera flash across from me, or 2 on each corner so it would make a triangle from where I’m shooting to my flashes.
Use a sticky label as a cheat sheet.
Especially if you’re just learning flash, it can be confusing to know what settings to put it on! When I switched camera systems, I stuck a sticky label on the back of the flash that sits on my camera with the settings it needed to be on and what buttons to push to get there! This way if I accidentally bumped things pulling it out of my bag, I could easily and quickly set it back to what I needed it at! This was especially great when I was still getting used to the settings!
Set up the reception flashes before the ceremony.
If the ceremony and reception are nearby, I always try to set up my reception flashes before-hand! This allows me to be less rushed, and ensures everything is set up right so I just have to turn things on before the couple enters the reception. Then I also can shoot the reception details using flash!
If you’d like to learn about my exact flash system, the equipment I use, and how I set it up, I have a guide all about using off-camera flash in the shop! I break it down so whether you just want to learn manual flash for one or multiple flashes, you can! Head to the Off-Camera Flash Guide in the shop HERE!
Remember, it takes patience and practice to learn new things! If things don’t go perfectly the first time you try it, don’t be discouraged! Practice setting up your flash system at home so you’re comfortable with the settings and have things ready to go when you set up for a wedding day!

21
Jan


VIEW THE COMMENTS
5 Simple Tips for Using Off-Camera Flash