 I’d get SO frustrated trying to keep my images consistent, especially with white balance. I’d sit there editing and re-editing for hours trying to get the white balance just right! I used Kelvin white balance for a long time, which is where you choose the number for white balance. But my problem with this was I couldn’t keep it consistent, and also just choosing it by looking at the back of camera screen wasn’t always accurate! So I was spending WAY too much time in post processing. However, I do think everyone should try Kelvin since have friends who LOVE this way, and it gave me a much better understanding for white balance when I used it for a few years!
Then I learned about the ExpoDisc! Here’s some questions about it I’m answering!
What does the ExpoDisc do?
If you use Kelvin and are still frustrated with results, I’d recommend trying the ExpoDisc! This is a little round, disc looking device that measures light. Think of it as a glorified gray card. But the special thing about an ExpoDisc is it measures the light HITTING the subject (incident light), instead of the light bouncing off of them (reflective light)! It sounds complicated, but basically it sets my white balance for me, and I also use it to measure exposure!
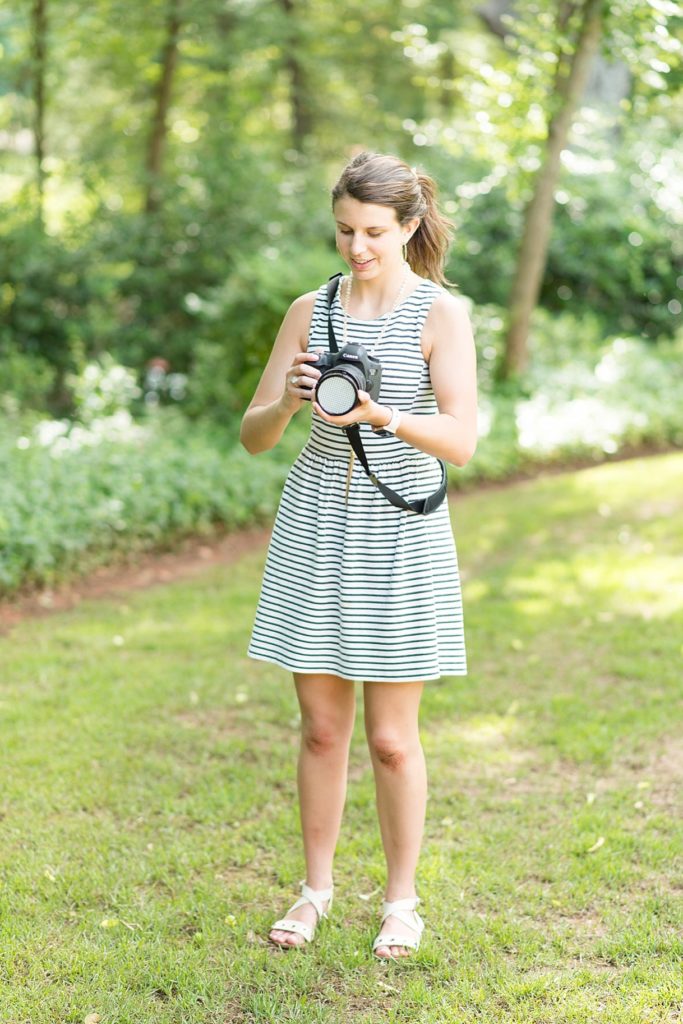
So how does it work? You simply stand where your SUBJECT will be standing, and point it back to where you will be standing! This is because it has to measure the light that’s going to be hitting your subject! Turn your camera white balance (WB) setting to “custom” for Canon (for Nikon, it was the PRE setting on most of my models), and stand in the same spot your subject will be standing with your camera pointed to where you’ll be standing. Then to also measure exposure which I highly recommend, look at your meter bar and adjust your settings until the meter bar is right in the center at 0 (all this while you’re holding the ExpoDisc in front of the lens pointed back to where you are like in the image below). In the picture below, I was measuring the light for when my subject would be standing where I am facing the same way I’d be facing.
 For Canon, simply take a picture (if you use auto focus, you might need to switch to manual focus since the camera won’t be able to focus on anything). Based on your camera, there’s different ways to set this as the new WB! But try going into your menu to white balance, custom settings, and you should find an option to select your image!
For my Nikon d750 and d810, select PRE as the WB option. Then, hold the WB button until the top screen was blinking, go through the steps I listed above (stand where subject will be, point camera to you, be sure exposure is accurate), and click the shutter. Then, “GOOD” blinks on the top screen (or “NO GOOD” if you need to redo it).
One tip I use is I’ll sometimes set my exposure slightly over-exposed when choosing my settings with the ExpoDisc at the front of my camera. Also, every now and then I point it wrong or the lighting in a specific spot can be a little wacky, and I might have to do this process again, BUT you get very quick with it!
Why not auto white balance?
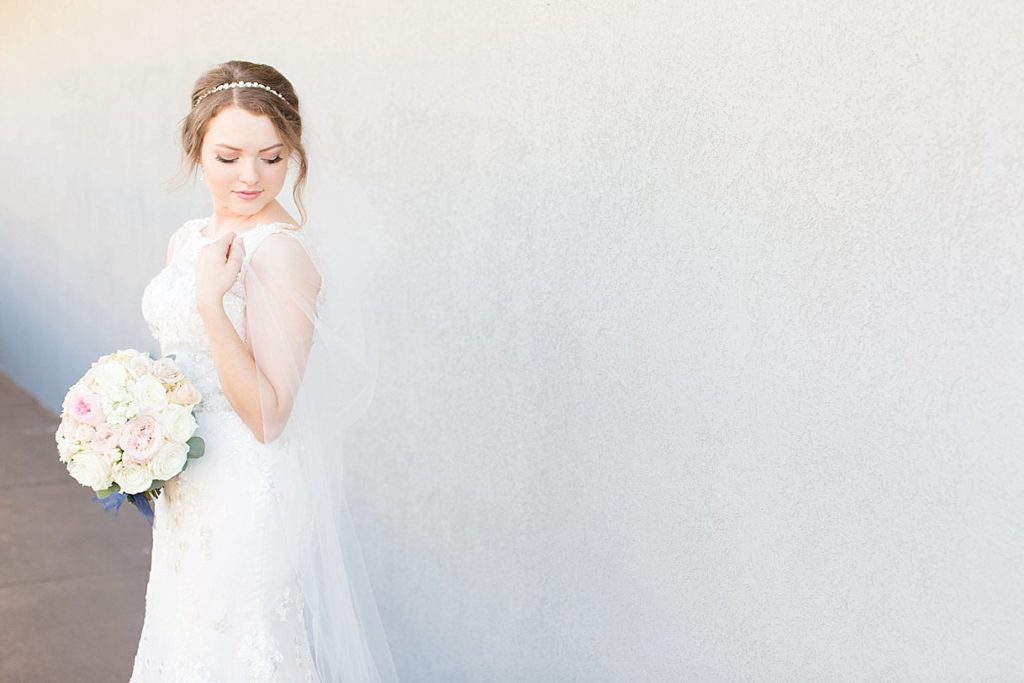
Your camera isn’t always right! When on auto settings it does the best it can, but if shooting in front of a blue wall it’s going to read that as a LOT of blue and make your image too warm! Even if you use the settings for different light situations (like sunny, cloudy, etc), things still don’t always end up accurate! Here’s an example below of the image with different settings, and finally with the ExpoDisc!

So you use this every time you shoot?
YES! There are a few exceptions since on some points of wedding days indoors so I might use Kelvin or auto, but for every shot outside and inside with natural light I’m using my ExpoDisc! I’ve had photographers concerned about how their clients would feel, and I simply just tell them what I’m doing!! If I jump in front of them with my camera pointed the opposite way, they of course might be curious! I simply say, “This just measures the light hitting you and helps me have more consistent images!” And I’m never questioned or feel uncomfortable!
 Is it worth the time to set it?
While it sounds like several steps, I’m actually able to do this REALLY quickly… like we’re talking 10 seconds or less!! Which is worth saving me WAY more than time than that in editing! It might take a little longer at first, and sometimes I have to “re-do” it if the lighting is constantly changing or it just didn’t look right the first time, but is SO worth the time for me! Just a side note: I also don’t actually screw it on the front of my lenses, but just hold it there!
 Where do I get one???
Here’s a link to the main website, and if you have trouble figuring it out with your exact camera body, I’ve simply Googled “how to use ExpoDisc with X camera”! Or feel free to contact me anytime! I purchased my ExpoDisc from B&H Photo here!
I’d challenge you to give it a try and see what you think!!
30
Jan
VIEW THE COMMENTS
The ExpoDisc | How to Achieve Consistent White Balance and Exposure